

Chili is amazing. And not just in the fall or winter, but on a summer night beside the fire pit. You can’t really go wrong. I’ve been asked what my secret is. Honestly, I have two. First: chili powder. You can put about anything you have leftover in the fridge and as long as you add chili powder, it tastes like chili.
The other thing I do is add relish. Before moving into our camper, I had jars and jars of zucchini relish in our basement from one summer when my zucchini crop grew exponentially. So each batch of chili I made, I would add about a half a jar of zucchini relish. It’s a habit that stuck, although now I have to buy the relish. It gives it a nice sweet taste and no one complains!

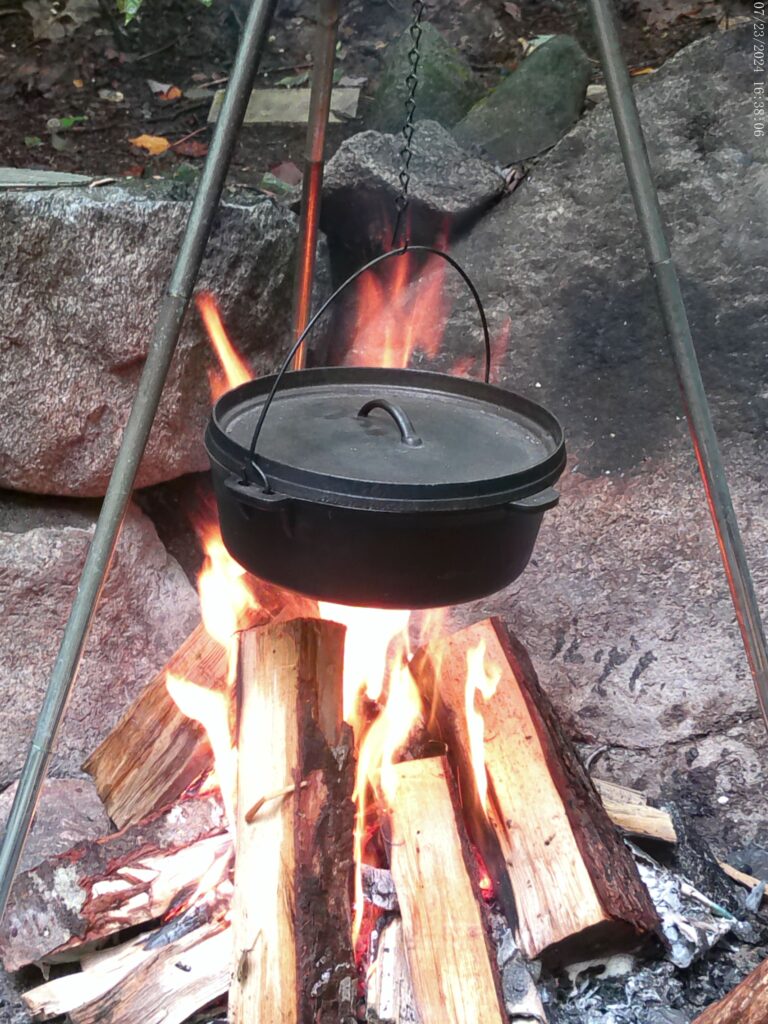
While camping with some friends years ago, we were introduced to dutch oven cooking over a fire. I would never have thought something as heavy as one of these Dutch Ovens would be dangling over the fire pit and not fall in. But we watched them do it once and we were hooked.
The method you use to cook the chili is up to you. If it’s a day that you are all sitting around the fire and puttering at the site – cook everything right in the dutch oven over the fire. If you aren’t going to get the fire going til mid to late afternoon, cook your meat (and maybe veggies) in a skillet ahead and then add them to the dutch oven over the fire a couple of hours before dinner.
I like to brown my meat inside first, then add the remaining ingredients right to it in the dutch oven. I’m sure the meat is cooked that way and it saves me from standing over the hot fire to stir the meat.
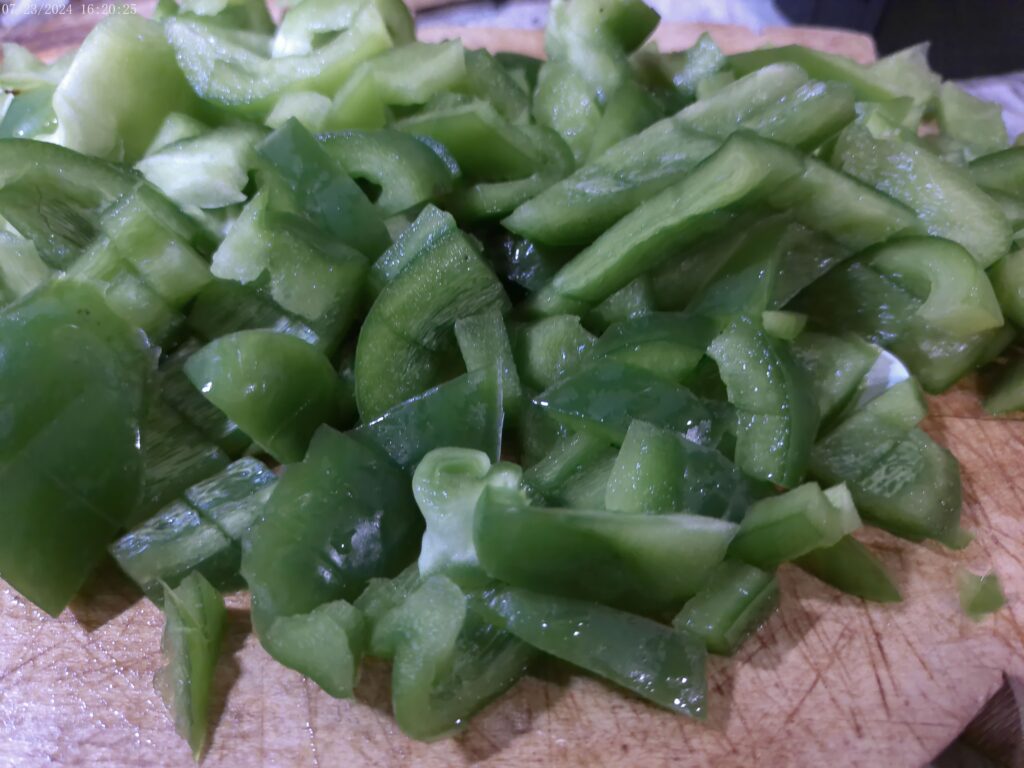
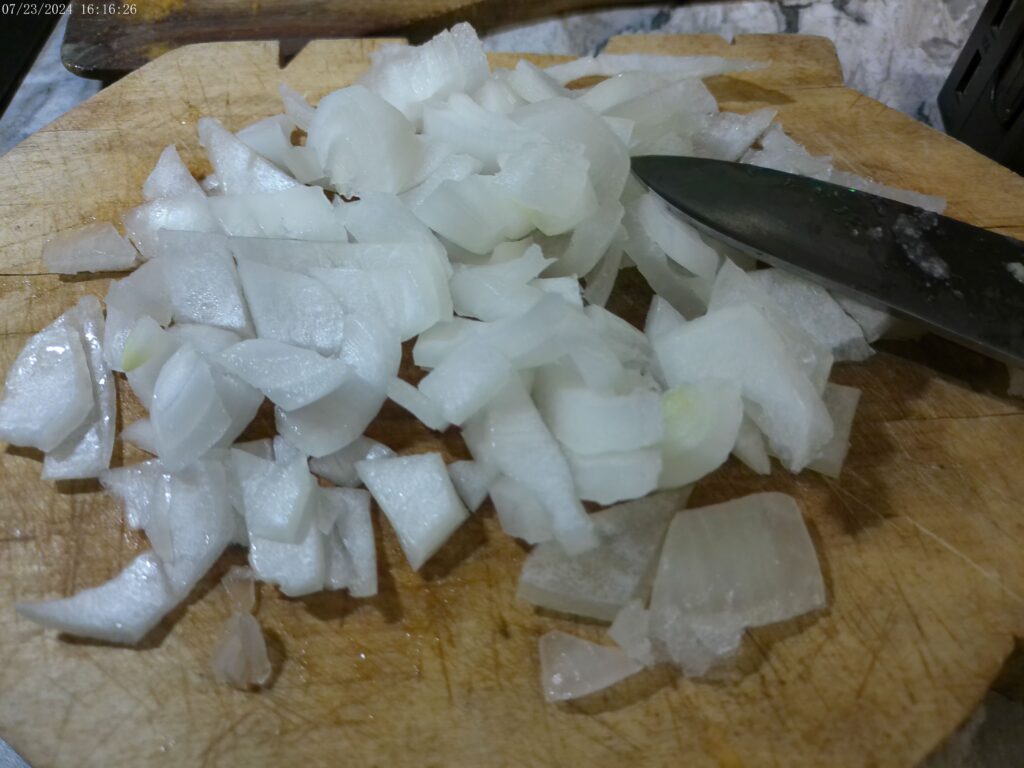
One thing that is great about chili is the veggies. Normally, my kids would tell you they don’t like peppers or onions. In chili, they don’t even realize they are there. They are smothered in sauce and are cooked to be so tender you really can’t tell. But the chili would be so plain otherwise! Don’t skip them! What kind of onion you use is up to you, same for the color of peppers. Just add them in and don’t be shy with them. They add a lot of flavor.
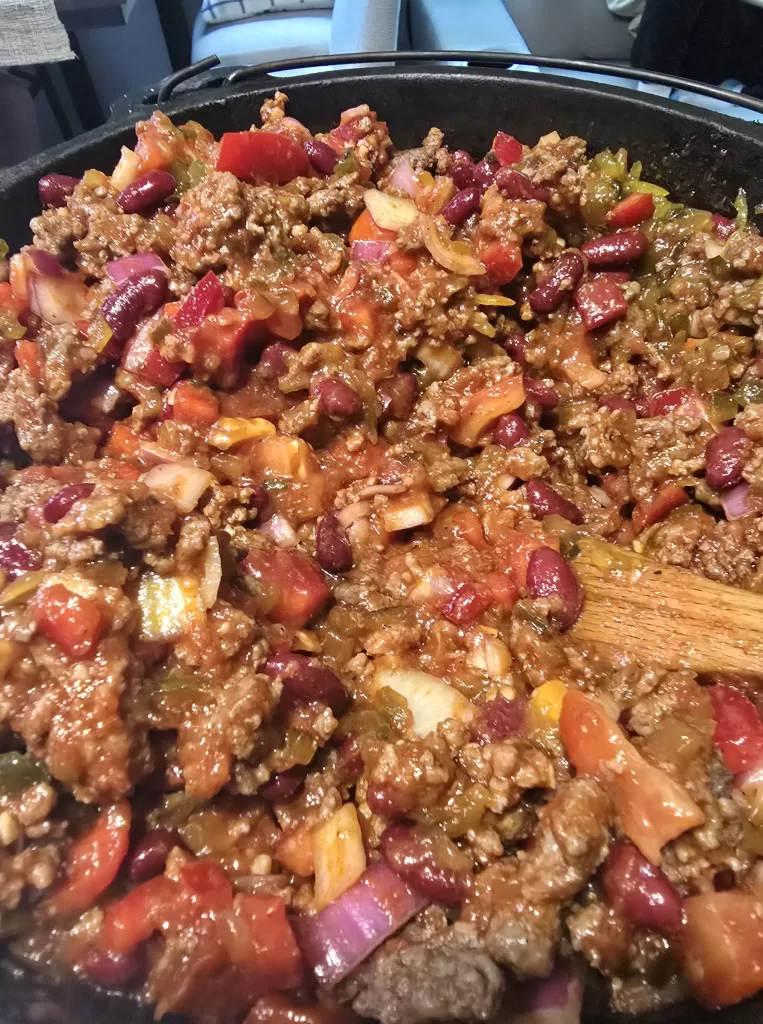
One other thing I don’t skimp on is the kidney beans. Mostly because we always seem to have a couple of extra cans in the cupboard, and I don’t use them for anything else. After simmering in the pot, they will enlarge some and don’t have that beany flavor the kids don’t like. And again, add chili powder to anything and it’s awesome. We don’t eat kidney beans on anything else than in chili, might as well take advantage of it.

Once all ingredients are added into your dutch oven and your fire is going, you will want to set up your tripod over the fire. Most dutch ovens come with it (see this one for sale on Amazon). It’s a tripod so obviously has three legs. Spread them evenly out over the fire pit to be sure you have a good sturdy base. You can also adjust the chain on the tripod so that the dutch oven hangs at different heights. If you have already cooked your meat, you don’t need that much heat so you can hang it higher. If you still have to cook the meat and veggies, you may want to lower it so you get more heat. But as you cook, pay attention to if the chili starts sticking on – it may be too hot and need to be raised up. Just remove the dutch oven before adjusting the chain height – it’s too heavy to fool around with hooked up and you’ll end up with a pot of chili in the fire!

Jesse loves to use fire resistant gloves like these that go half way up his arms. It can get hot standing over the fire adjusting the tripod and removing the cover to stir the chili. These are wonderful!
How long you let your chili is up to you. If you didn’t precook your meat, you should definitely let it cook longer to be sure the meat cooks. If you did cook the meat ahead, let the chili simmer as long as you want to let the flavors all mix together. Just know, the chili will be super hot for a while. We usually set the pot on a nearby rock to let it cool down a bit.
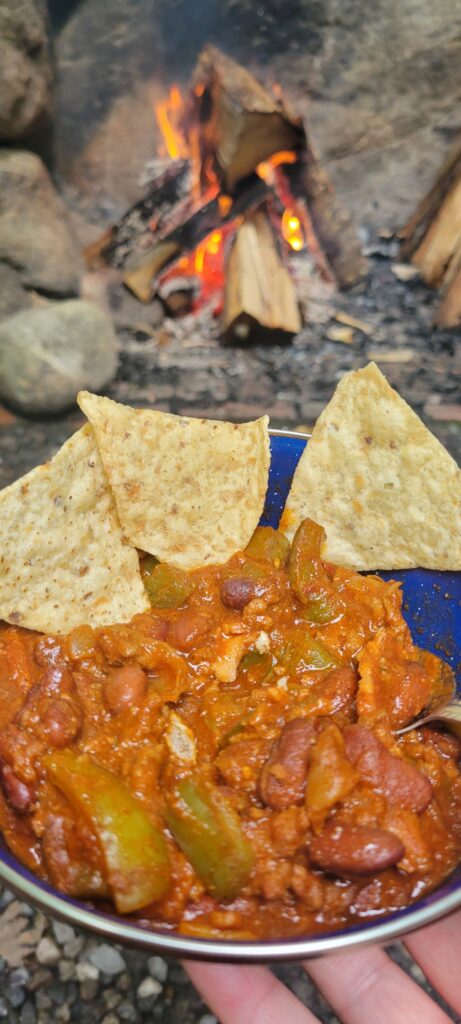
Favorite chili toppings for us? Shredded cheese topping and scoop it to eat with Tostitos. Can’t go wrong. Give this delicious chili recipe a try and let us know what you think!

Campfire Dutch-Oven Chili
Ingredients
- 1 lb. Ground Meat Beef, Turkey, Venison, etc.
- 2 Green Peppers, diced
- 1 Onion, diced
- 2 cans Kidney Beans, drained and rinsed
- 1 can Spaghetti Sauce
- 1/4 cup Chili Powder more or less as desired
- 2 tbsp. Garlic Powder more or less as desired
- 2 tbsp. Taco Seasoning more or less as desired
- 1/2 cup Relish (Optional) I use zucchini relish we have canned
Instructions
- Brown you ground meat in a skillet until no pink remains. (If you have a fire simmering all day, no need to do this ahead. You can just add the meat and veggies right to the dutch oven and stir it a little more frequently so it doesn't burn and to be sure the meat cooks).
- Drain the liquid that accumulated from cooking the meat before adding the meat into your dutch oven.
- Place the remaining ingredients into the pot with the meat and stir well to combine. Feel free to add different amounts of seasonings based on your prefernces.
- Hook the dutch oven to your tripod over the fire. A good pair of fire gloves works well as you'll have to remove the cover often to stir.
- How long you let it simmer depends on your liking. The meat is already cooked, so you are just allowing the veggies to cook and all the seasonings to incorporate into one another. An hour to three or four hours – just remember to stir it often.
- When ready, serve with shredded cheese or scoop it with chips. Make sure to let it cool first!