
Bake any kind of pie, and people will think you’ve been baking all day. They smell great, no matter what kind. They taste great. And there are so many different options. Instead of sharing the recipe for making my apple pie, I’m sharing the most important part: how to make the pie crust. Once you can make a crust, the options are endless. Apple pie, Strawberry Rhubarb Pie, and Chicken Pot Pie are definitely the faves for my family.

Pie is my go-to dish to bring to family gatherings. And they always get great reviews! I don’t know how many times I’ve heard someone say, “I wish I could make a pie crust that good!” Well, I’ve got news for you – you can make a pie crust that good. And here is how to do it.
A great pie crust consists of only four ingredients: flour, salt, shortening, and water. You probably have those ingredients in your pantry right now. While we have tried it with whole wheat flour and gluten-free flour, I’m no pro at those, so I won’t give you advice on how to make them work. If you want to play with those to perfect them, by all means.

I use Crisco Vegetable shortening sticks, as you just need to cut on the line how much you need. I used to buy the tubs of shortening, but then you have to spoon it out and measure it. This is just easier. I also used to cut up the shortening with a knife first, before adding it to the flour. But what’s the point? You are going to mix the dough with your hands, so you can just crush the shortening with your fingers – no need to cut it first.

Begin by adding the flour and shortening to a mixing bowl. One way for your crust to go wrong is to use a mixer or blender. It will over-mix it, and your crust won’t be light and fluffy. Mix it with your hands. Pinch the shortening into the flour until it is all separated and no longer a big block.
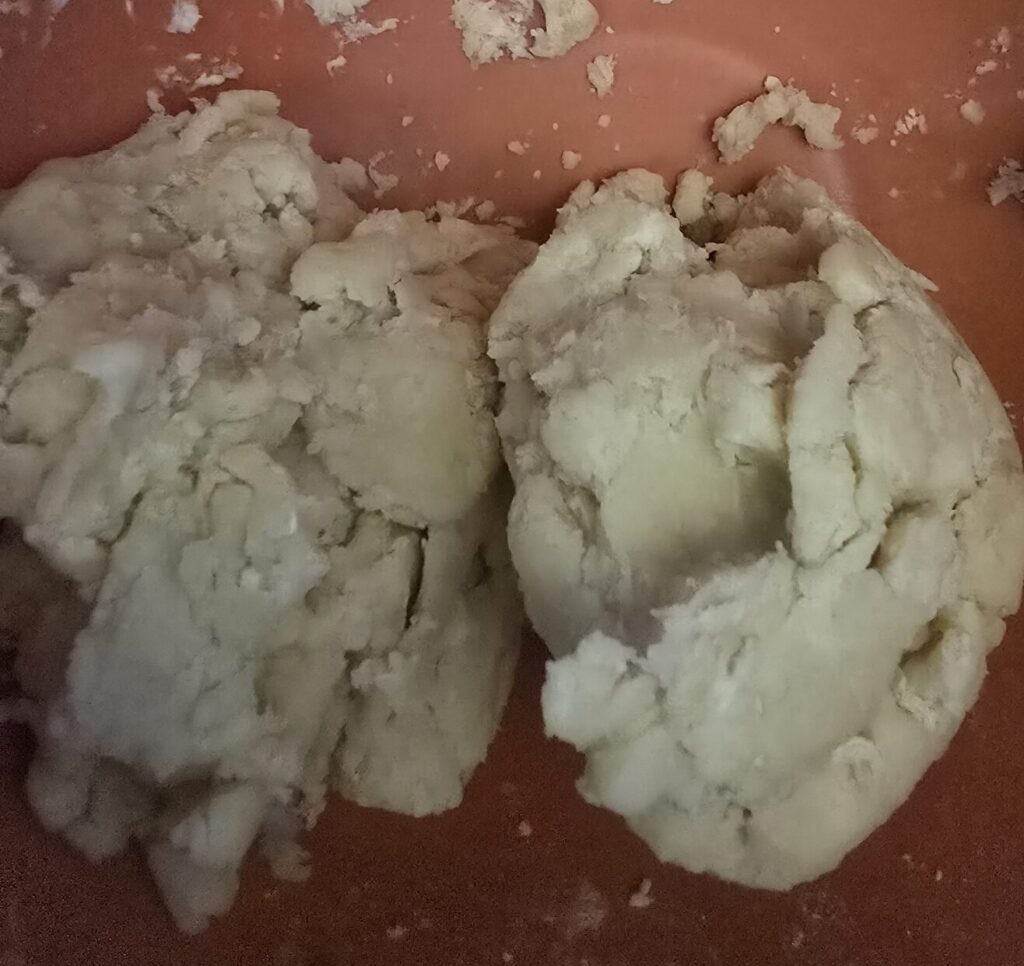
Begin adding water by the tablespoonful and mixing as you go, still with your hands. I usually add four tablespoons to start and mix that in. As you add tablespoons of water, you will notice the dough holding together more. I generally use 6 to 8 tablespoons of water in total. The dough will be formed into a ball with no loose flour left in the bowl.
This recipe is to create a double pie crust, which means enough for a bottom crust and a top crust. These are used for pot pies, apple pies, etc. Other pies (like chocolate cream and pumpkin) don’t use top crusts. In that case, you won’t need both the top and bottom crusts. However, if you make two crusts, you can make two pies!
With your ball of dough, split it and form two separate balls of dough. Wrap each in plastic wrap and set in the fridge to chill for at least 30 minutes. These 30 minutes of time are a good time to get your filling ready. I usually have just enough time here to peel apples and season them for a delicious apple pie!

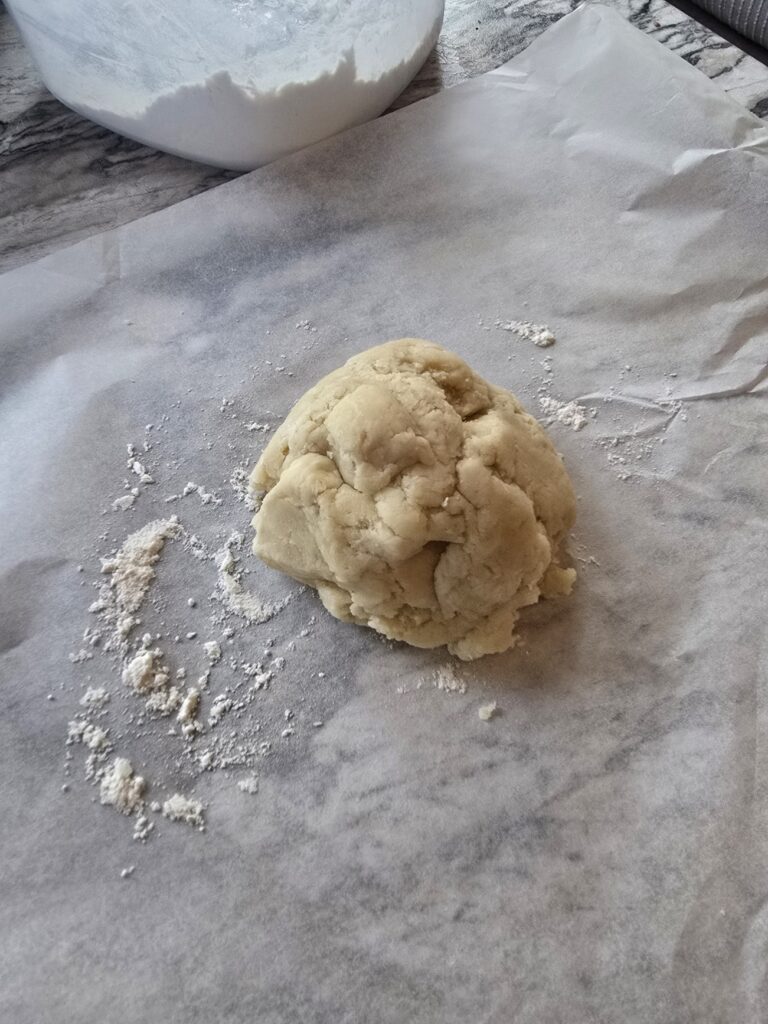
Once your dough has chilled for 30 minutes, it is time to roll out the dough. Parchment paper makes this process so easy! Tear off a large square of parchment paper and put it on a flat surface. Even though I use parchment paper, I still sprinkle a little flour onto it to prevent the dough from sticking to it, and for easy removal of the paper later.
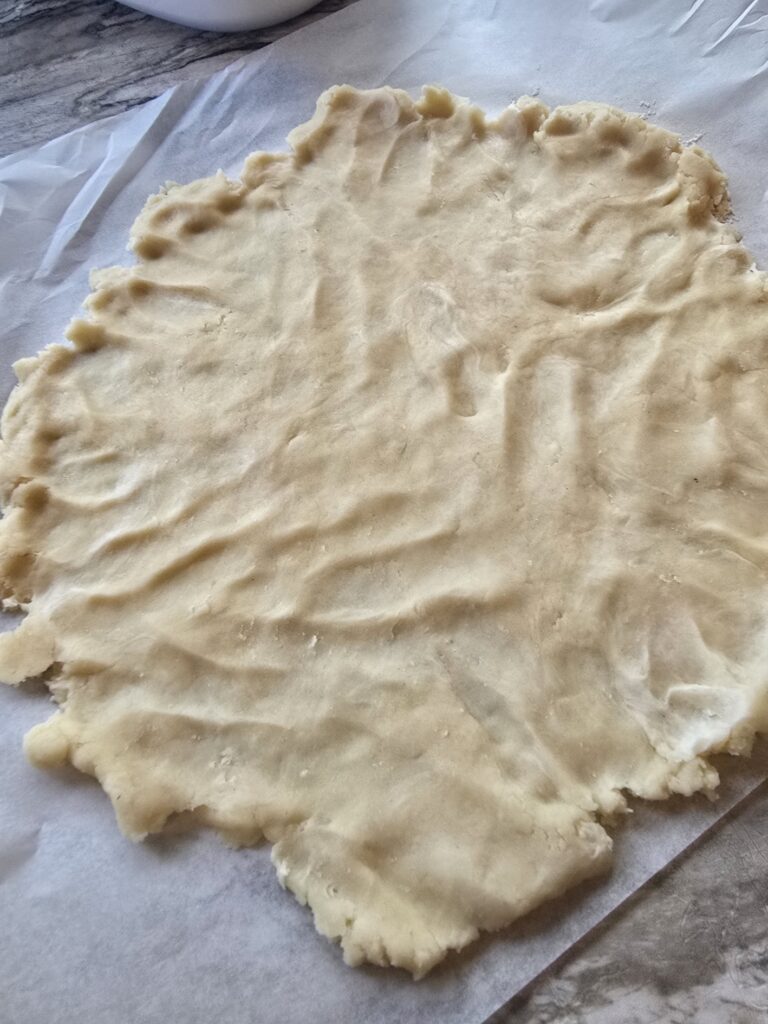
Place one of your pie crusts (leave the other in the fridge until you are ready for it) on the floured parchment paper in the center. You will want to begin rolling out the dough from the center outwards, rather than a back-and-forth motion. Having it on parchment paper makes this easy because you can rotate the paper and push it away from you while you roll.
However, if you just moved into your camper and had to get rid of tons of your stuff, you may have forgotten to save your rolling pin. And then when you got ready to make a pie crust, you may have forgotten this and had to push your pie crust out by hand leaving little tiny fingerprints all over the crust. A Google search told me to use a long circular object as a rolling pin, like a water bottle or a wine bottle. Having only flimsy-sided water bottles and nothing resembling a wine bottle – I found my can of PAM. I put a little flour on the sides of it and tried rolling it that way, but it was just easier to use my hands.
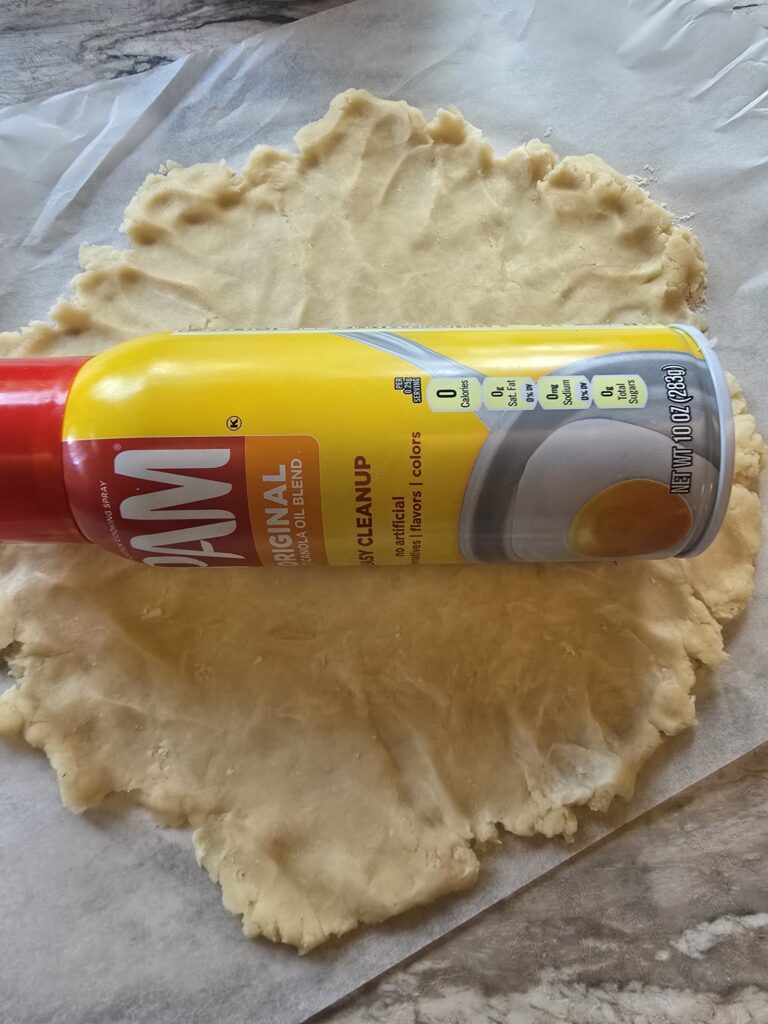
Another trick you can do for ease of rolling the crust out is to use an additional piece of parchment paper on top of the dough and roll it out between it. Just makes the crust smoother and your rolling pin not stick to it. Of course, adding some flour to your rolling pin will help this too.
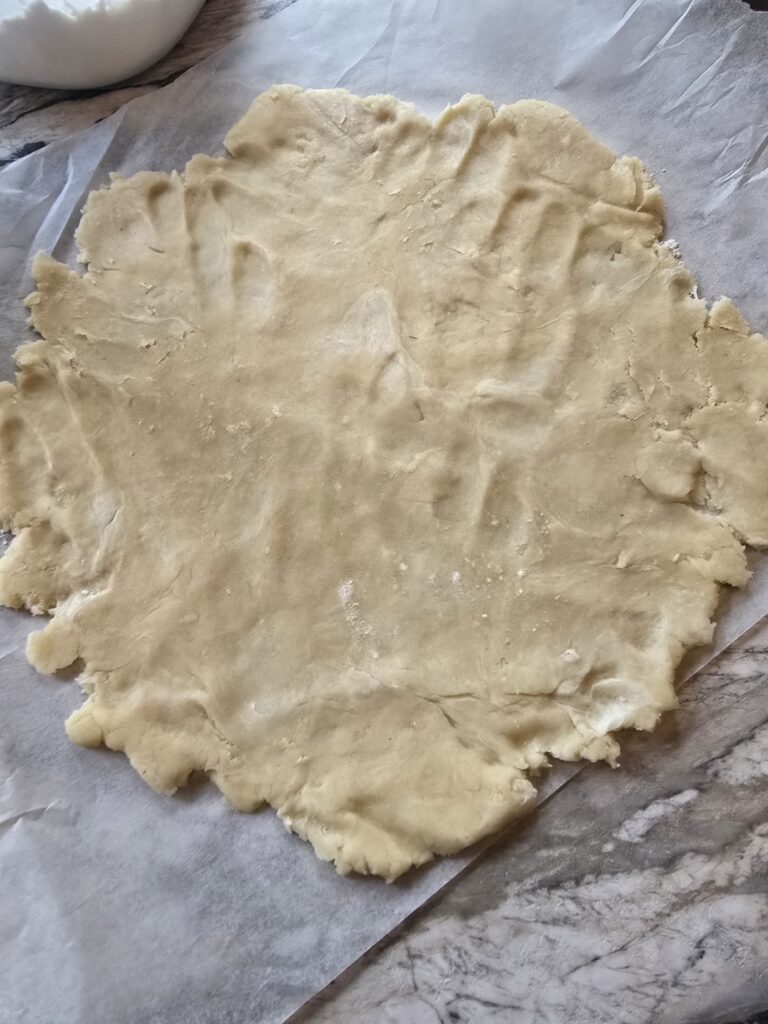
Once your pie crust is rolled out to a rough circle shape, put your pie plate over it to make sure you rolled it out big enough. The pie crust should be an inch or two bigger than the pie plate. If it is bigger, no worries. If it is too small, roll the pie crust out thinner. You are now ready to put the crust into the pie plate. To do this, put your pie plate upside down on the dough and flip all three things over: the pie plate, dough, and parchment paper.
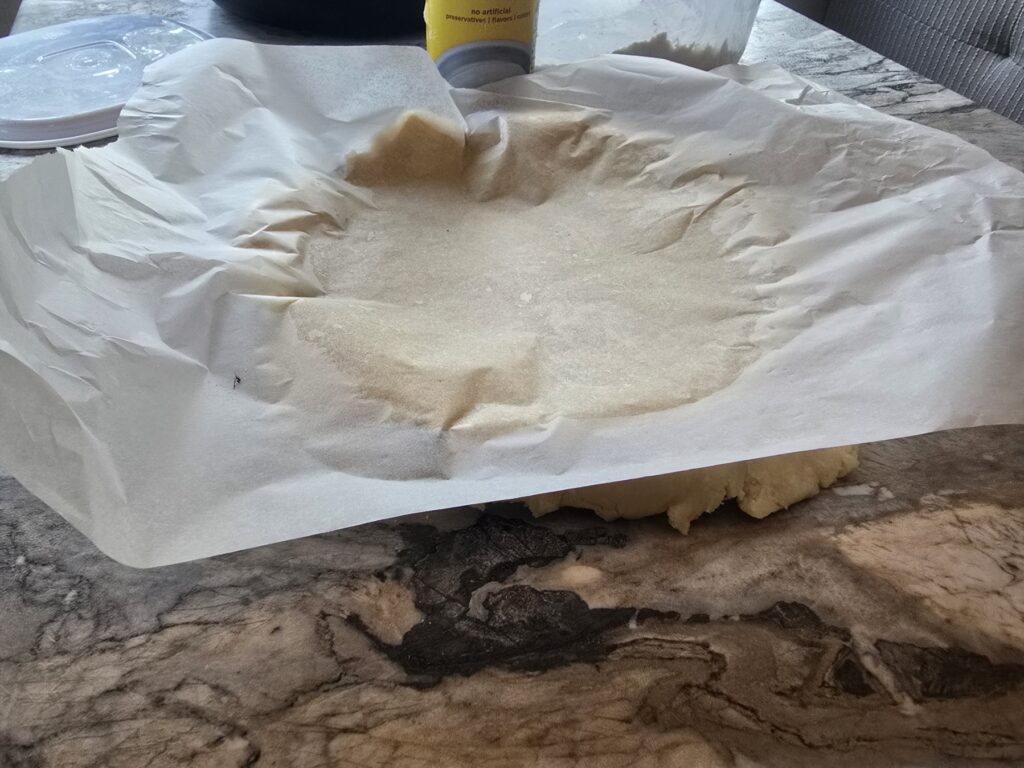
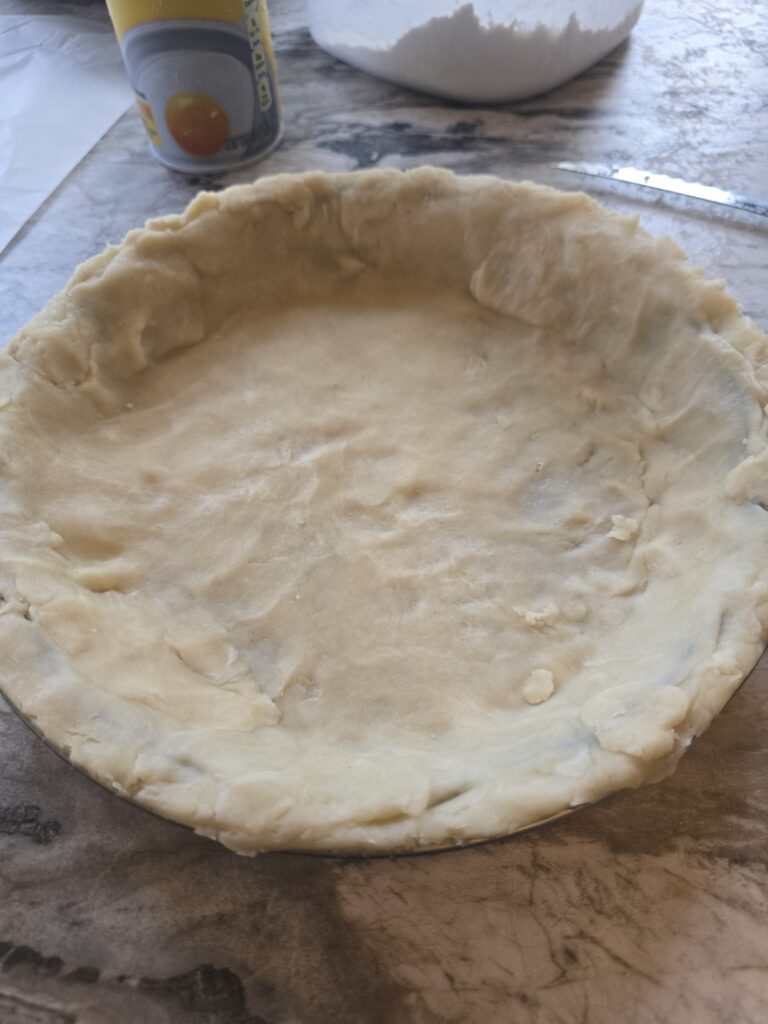
Flipping the three over together keeps the crust together in this process. If any of it does separate, just push it back together with your fingers. You should be able to slowly and carefully peel off the parchment paper now, starting at one corner. It should come off very easy. Take a sharp knife and cut the pie crust even with the edge of the pie crust all the way around. Any excess that is cut off can be added to the other ball of dough to roll out for the top of the crust.
As you can see, my fingerprints are all showing in my crust because I didn’t use a rolling pin. Yours should look much smoother than this. I assure you, they will both taste just the same!
Now is the time to add whatever filling you are using. Pour in what you prepared, careful not to overfill. Spread the filling out with a spoon and press down on it slightly to make sure you don’t have any gaps. Things like apples will cook down some so you can add a bit extra of those! Now you are ready to roll out the top crust! You will repeat the steps above: flouring your parchment paper, putting your dough in the center, and rolling out from the center. Hold your pie plate over the circle and see if you have rolled it out far enough. It should be right about the size of the pie plate.
When it is ready to go, flip the parchment paper over on top of the prepared pie plate and filling. Again, it should be fairly easy to flip over this way. Try to center it over the pie. Carefully remove the parchment paper.
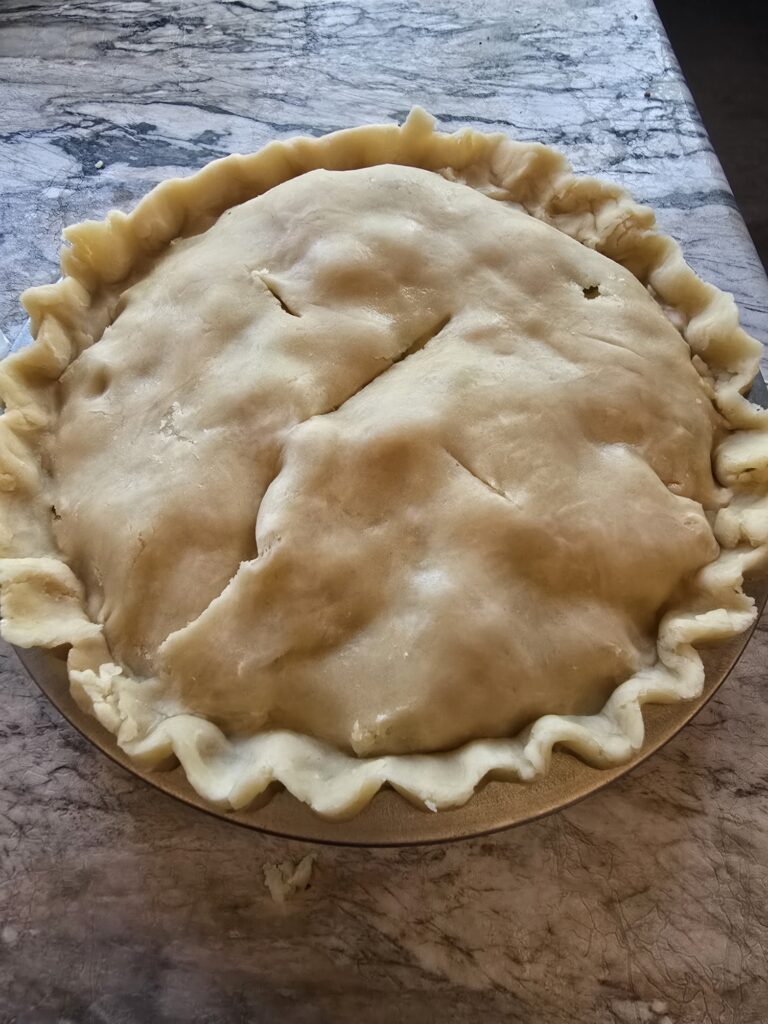
You don’t want any extra crust left over, so you won’t be trimming it with a knife. Instead, you will try to fold the top edge under the bottom crust edge to form a seal. Pinch the edges together so the crusts form one, and you can see a crack between them. Any extra crust is pinched into this edge to make a lip around the pie. You are then free to flute the edges. Here is a good informational link on how to do that.
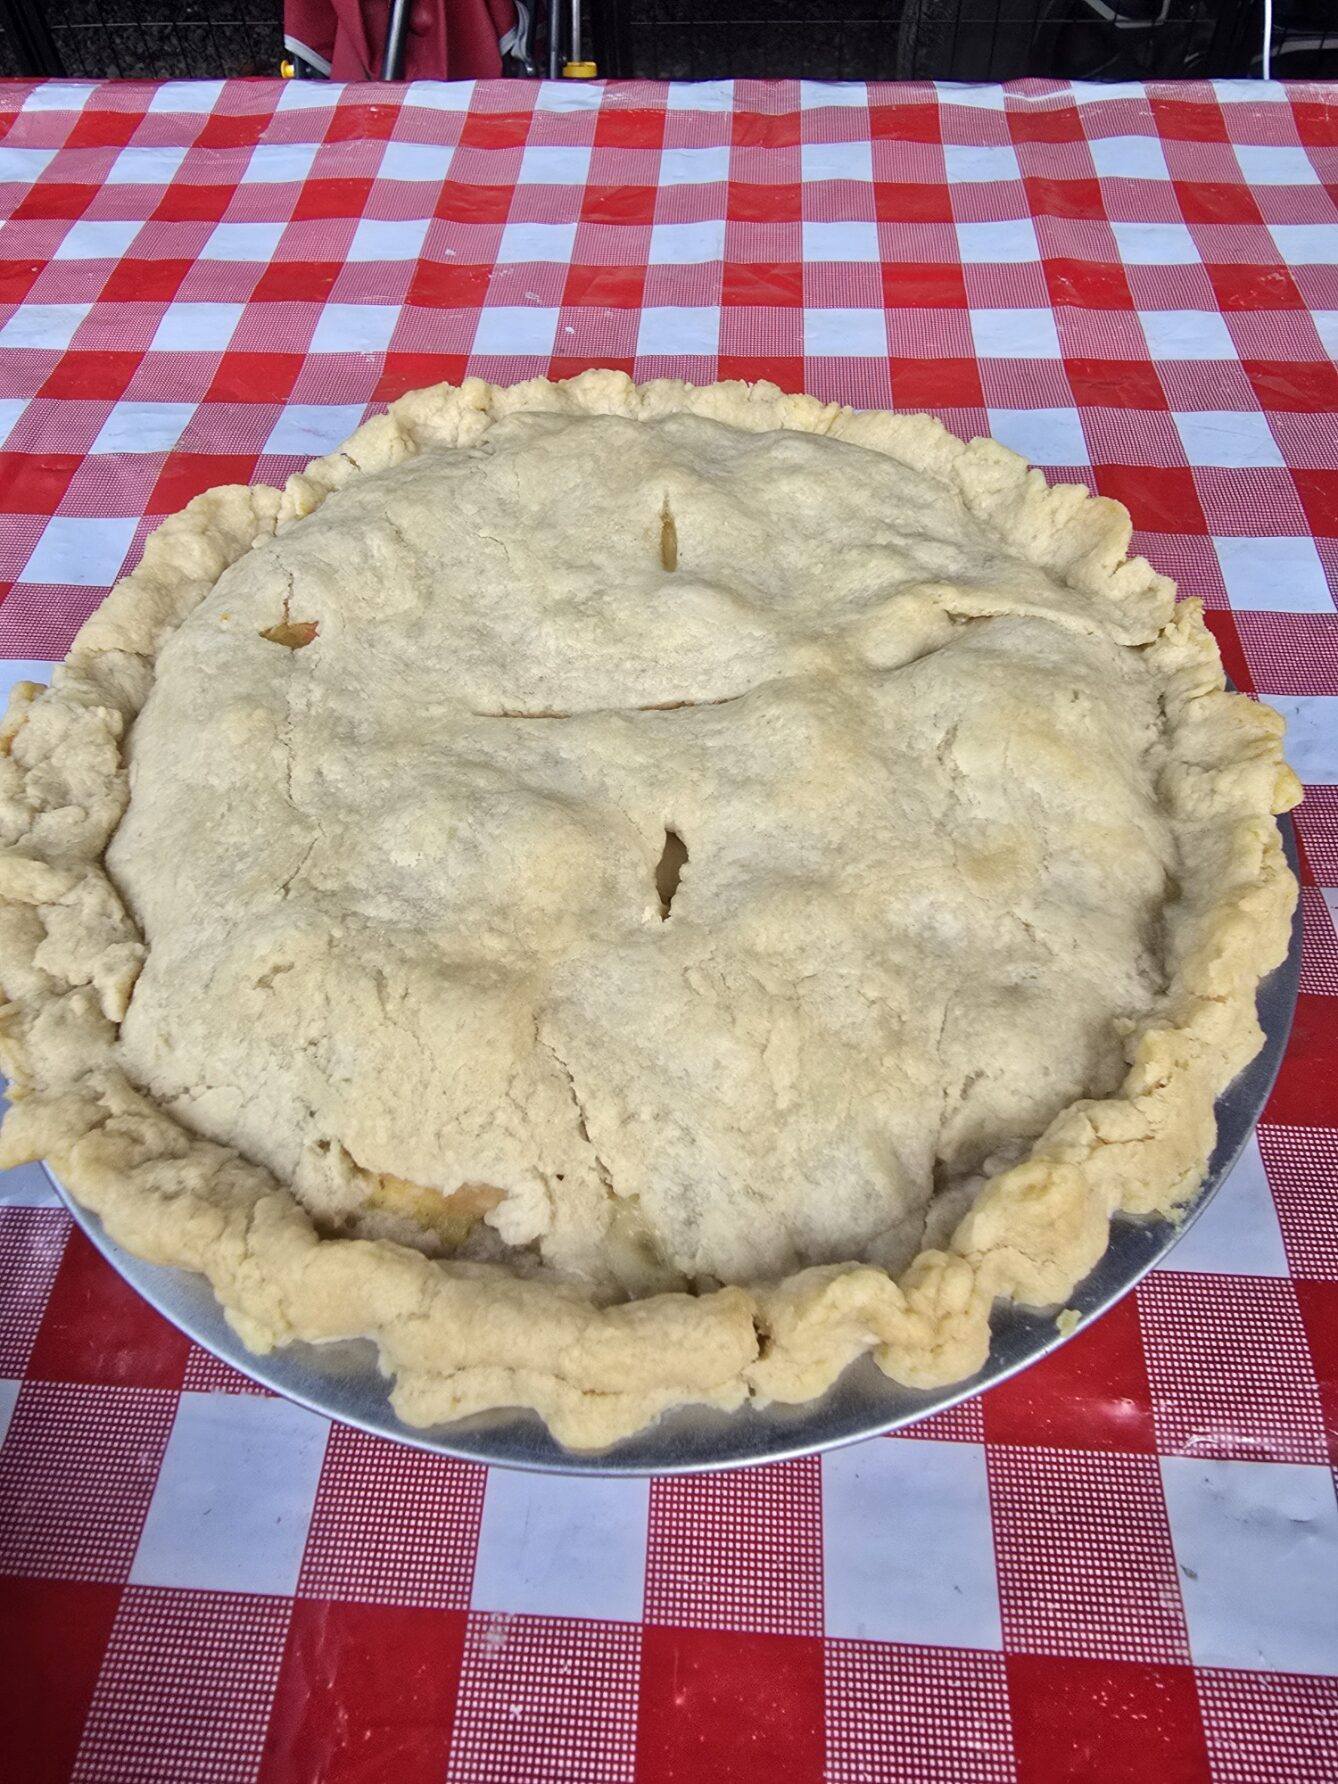
What you do next depends on the pie recipe you are following. Some have you use an egg wash or sprinkle water and sugar on it. For the apple pie and chicken pot pie, you leave them as is. The only thing you have to do is cut slits in the crust to let the steam escape. You can poke it with a fork, or cut slits with a sharp knife, or draw a design. We’ve used cookie-cutter shapes before to make a shape of a snowman or a chicken. Whatever you want!
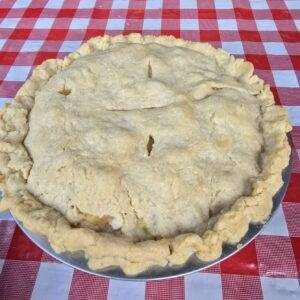
The final step is baking, however your recipe calls for. One last trick I do in this step is to put a piece of foil under the pie plate in the oven. In my eyes, I’d rather have a little spill out onto foil and throw it away rather than cook on (and burn) my oven. I’ve put a baking sheet under it before instead, but that will make the pie take longer to cook. Foil does the trick!
Enjoy this recipe and let us know when you make it!
My “Even-You-Can-Make-It” Double Pie Crust
Equipment
- 1 Rolling Pin
- 1 Pie Plate
- Parchment Paper
Ingredients
- 2 cups flour
- .5 tsp salt
- 3/4 cup vegetable shortening
- 6-8 tbsp cold water
Instructions
- Add flour and salt to a mixing bowl. Stir with a spoon.
- Add the shortening to the mixture. Mix together with your hands. (Don't use a blender or mixer – you really need to do this by hand for it to come out the best.) You want the shortening to crumble apart. Push it together with the flour with your fingers.
- Begin to add cold water by the tablespoon, continuing to mix with your hands. Add 4 tbsp. to begin, then add 1 additional tbsp. at a time, until you get to between 6 and 8. The dough will begin to hold together the more you add, until it eventually forms a nice ball, leaving no loose flour in the bowl.
- Separate the dough into two separate balls, since you are making enough for a top and bottom crust.
- Wrap each ball in plastic wrap and put into your fridge to chill for roughly 30 minutes. (This is a great time to prep your filling ingredients – whether it be the apples for pie, or the chicken and veggies for Chicken Pot Pie).
- Tear off one large square of parchment paper to roll your dough out. I still sprinkle a bit of flour onto it to be sure the dough doesn't stick.
- Place one ball of dough in the center of your paper. You can begin to roll the dough out from the center outward, spinning the parchment paper around as needed for ease of rolling. You can also use another piece of parchment paper on the top and roll the dough between the two. Flour your rolling pin as needed.
- Place your pie plate over your rolled out dough to check for size. For your bottom crust, you will want it to be about two inches bigger than your pie plate when rolled out.
- To transfer the dough to the pie plate, simply flip the parchment paper and dough over onto the pie plate, trying to center it as much as possible. Peel back your parchment paper slowly to remove it.
- Fill your pie crust with your prepped filling, not overfilling so you don't make a mess of your oven.
- Now begin to roll out the top crust, the same way you did the bottom crust. When you think it is big enough, hold the pie plate over the dough to be sure it is the correct size. It should completely cover the circle of the plate.
- Once complete, flip the parchment paper and dough over onto the top of the pie.
- Fold the top edge under the bottom edge and pinch the two crusts together. You need this to create a seal so the filling doesn't leak out in the cooking process. You can then flute around the edges to make a decorative edge. (Read this to learn how to flute properly).
- For many pies, you need to then cut slits in the crust to let steam escape. Be creative and decorative with this.
- Some pie recipes you need to brush an egg wash or butter on the crust or sprinkle sugar on it. Follow your specific recipe for instructions on how to finish off your pie.
- Optional: I usually put a piece of foil under my pie in the oven. If it doesn't happen to leak out, it will run onto the foil and not burn into the bottom of your oven!
Are you following us on all the socials? Click each of the links below to follow:
Facebook – https://www.facebook.com/profile.php?id=61561917326237
Instagram – https://www.instagram.com/loveatfirstsiteblog/
Youtube – https://www.youtube.com/@LoveAtFirstSiteBlog
Pinterest – https://www.pinterest.com/theloveatfirstsiteblog/